|
USING
EASYFIX STEP BY STEP
Place a
mark on the edging strip 5cm from a neat squarely cut
end.
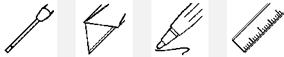
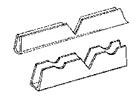
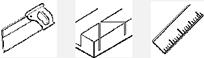
Lay the
edging strip in the channel of the EASYFIX Mitre Gauge
so the mark on the edging strip is in the centre of the
middle "V". Holding the strip firmly in the two finger
grips, cut down each side of the "V" with the sharp
knife, being careful not to cut right through the strip.
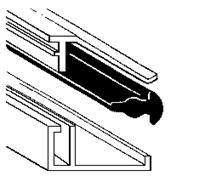
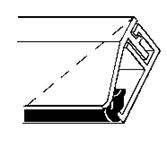
Now
carefully fit the edging strip on the plastic panel, the
cut out should mould easily around the first corner.
Continue along this edge to the next corner and place a
mark with the pen on the edging strip where the panel
finishes. This point marks the position of the next
corner.
Repeat
steps as above until the edging strip is fitted around
the complete panel.
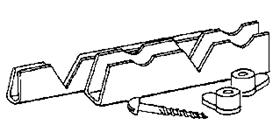
You will
need a clip about 5cm from each corner on each side,
then clips spaced equally about 20-25cm along the
remaining distance.
Position
the sheet carefully so there is an equal overlap on the
frame on all four sides.
Fix the
two clips on the bottom edge 5cm from the corners -
these will hold the weight of the sheet.
Make
sure the plastic panel is clean and the window perfectly
dry before resting the pane on the bottom fixing clips.
Fix two clips on the top edge, making sure that one of
these first four clips covers the join in the edging
strip.
Now
complete the window by fixing the rest of the clips as
suggested above. |